–
I had bought my car knowing fairly well what sort of attention it needed. Its mechanicals were mostly taken care of by the super-major service that I gave it in late 2014. This time I will share the cosmetic restoration that I have been undertaking—OK, I will admit the embarrassing truth—the cosmetic restoration that I am paying someone to undertake.
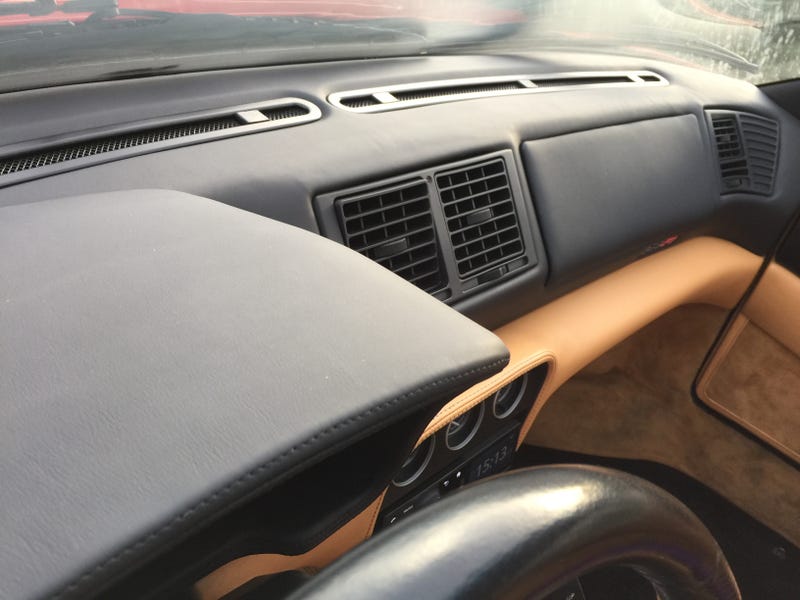
Let’s start with the car’s original condition as it was when I acquired it. Here, the upper black section of the dashboard leather was noticeably pulling, wrinkling and peeling at the A/C outlets. The passenger airbag cover had clearly peeling corners.
Advertisement
–
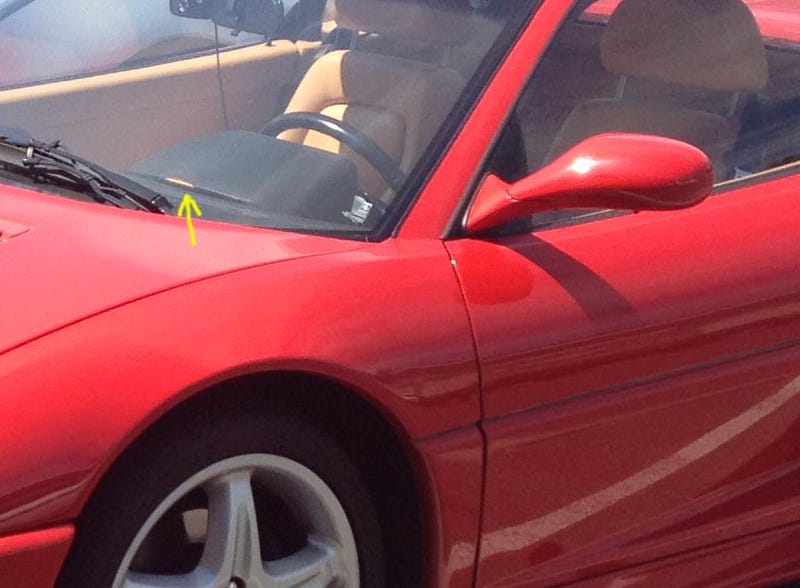
The instrument binnacle’s leather surface was also peeling on the forward side, clearly visible from outside the car:
Sponsored
–
So the upper dashboard needs a new leather surface (Rant: It also needed an owner willing to keep the car indoors). First, the steering column is dropped and the instrument binnacle is removed. You can see the old, peeling leather in detail:
–
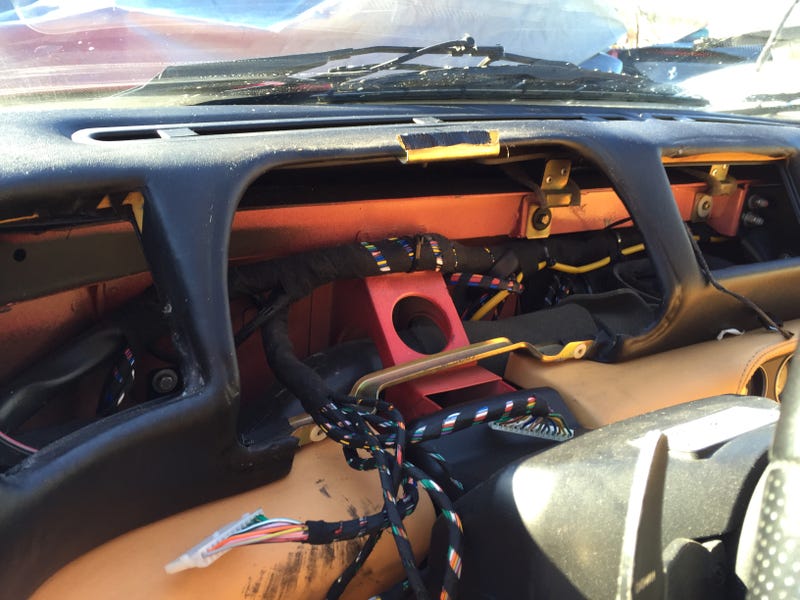
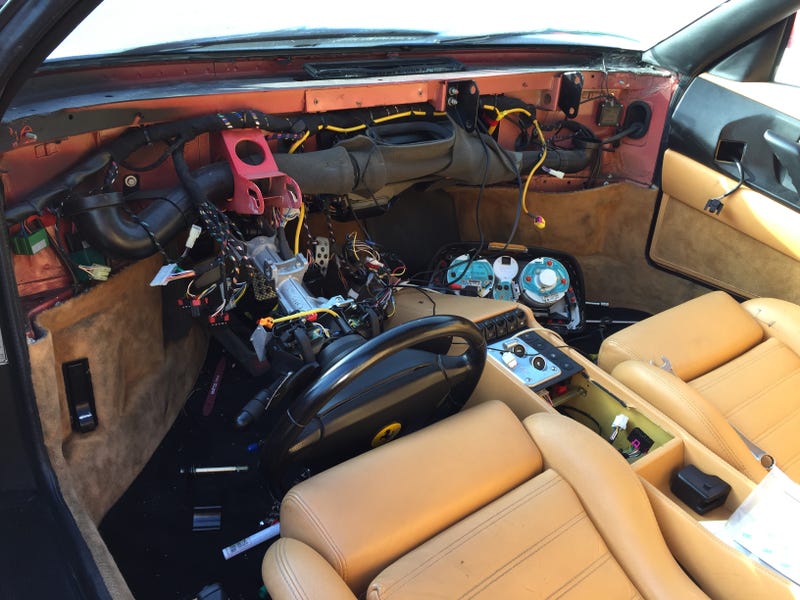
Next, the entire dash is removed from the car and the black upper section sent to a leather workshop—along with the instrument binnacle and the passenger airbag module. What remains of the interior is a jumble of wires and HVAC plumbing. Remember, this is a primitive 1990s Italian car; imagine what’s behind the dashboard of, say, a BMW 750iL…
–
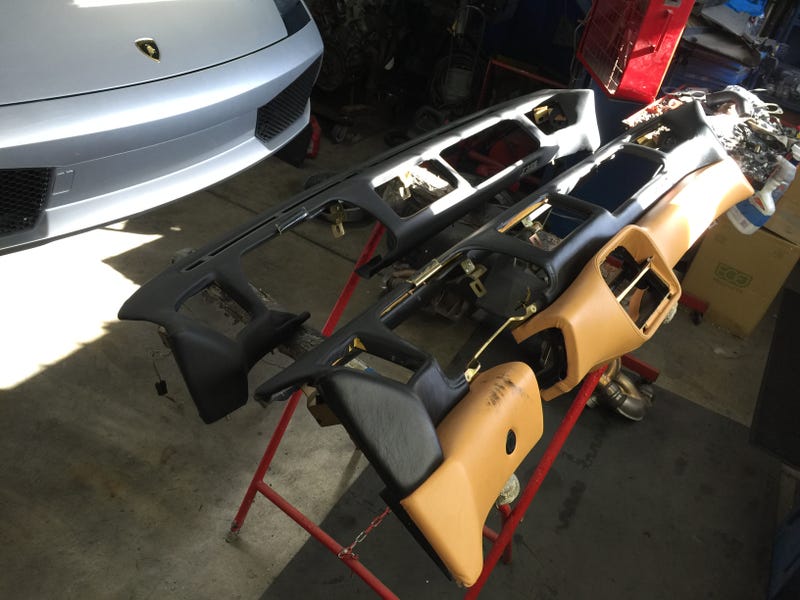
New (L) and old (R) upper dash. Gallardo not included.
–
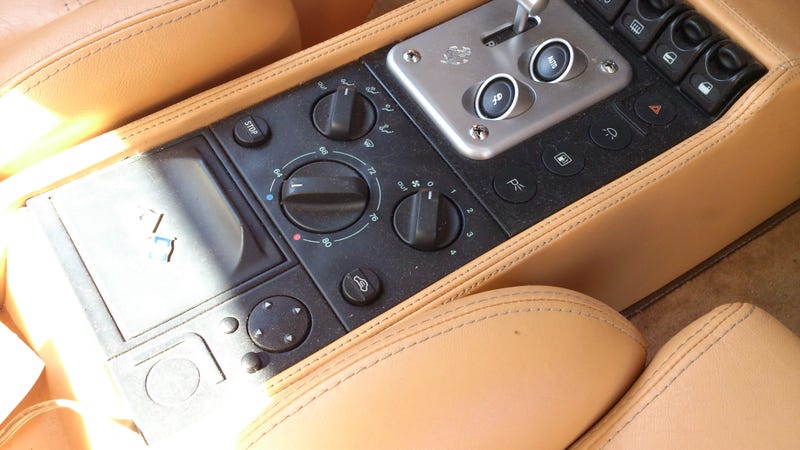
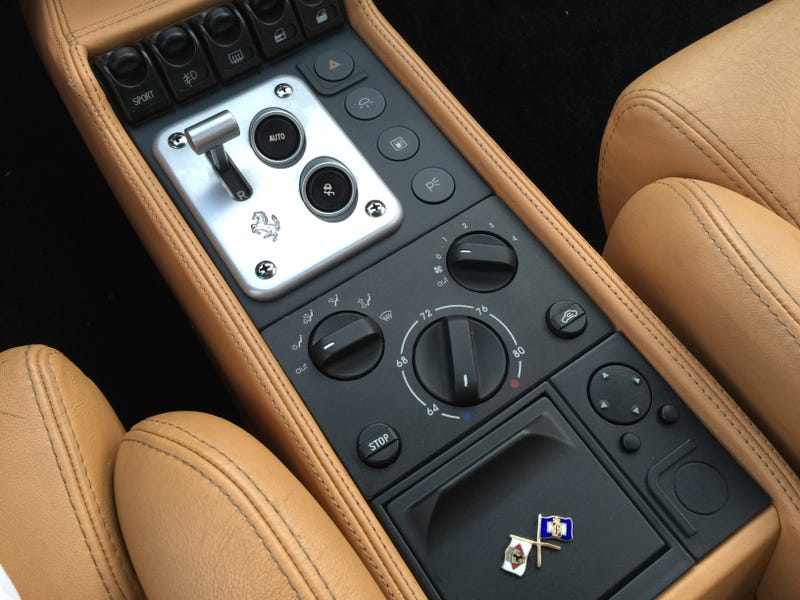
Next we attack a very common problem. The plastic console bezels had decayed in classic Ferrari tradition: the former soft-touch finish had melted and become extremely sticky. In fact, this happens to every single plastic piece inside the car, except the turn indicator and wiper stalks. Touch a button and your finger receives a fine coat of sticky black goo. Where’s the hand soap? Even the steering column shell is sticky. Even the @#$% door handles. Check out the centre console and all the dust that adheres to the surface in the full-size pic:
–
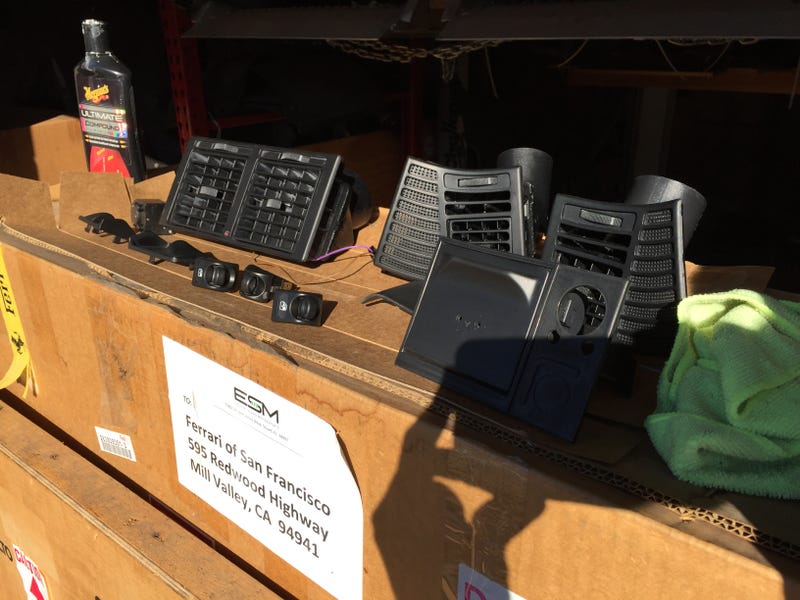
The plastic switches, bezels and panels are all removed. Here are a few pieces with the old sticky layer stripped out and waiting for the new finishing paint. Curious fact: The ash tray cover is a nice, heavy piece of metal, not plastic.
–
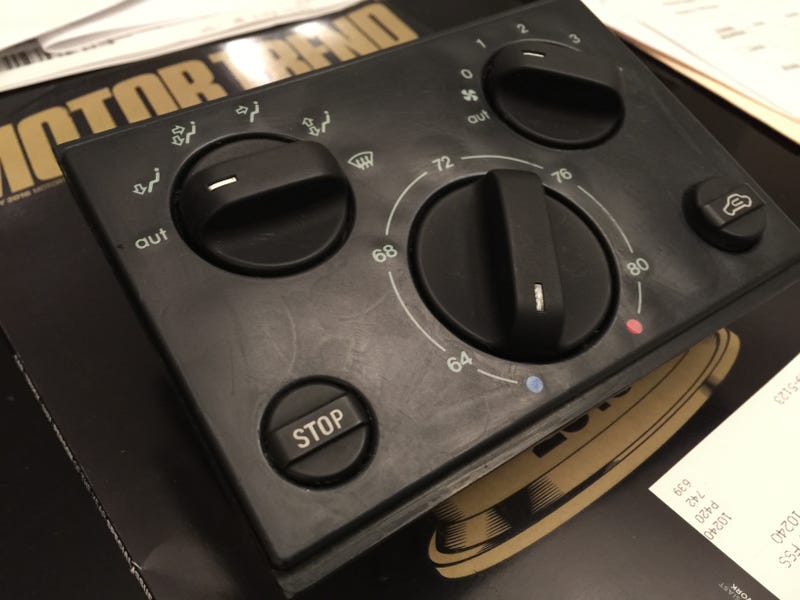
The HVAC panel receives special attention; it’s one of the few things that I’d end up doing on my own.
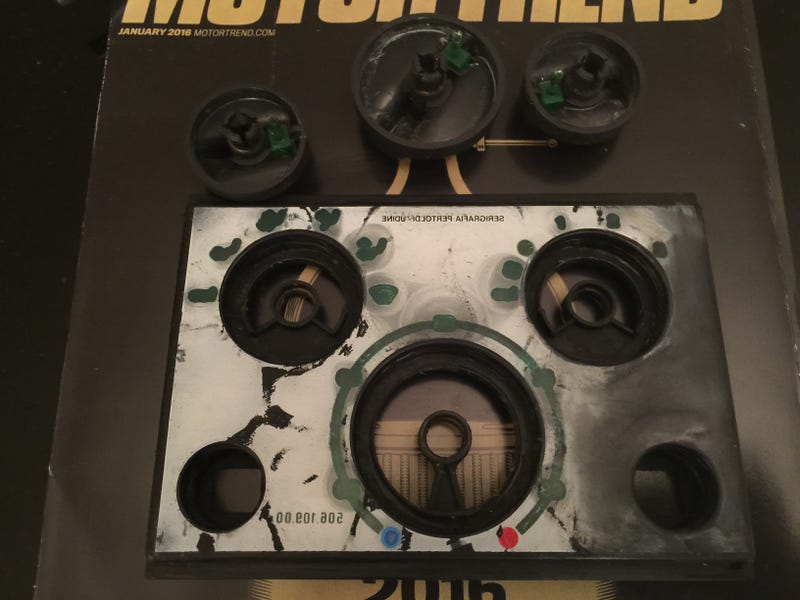
I bought an aftermarket HVAC graphics overlay—because apparently there is a market for aftermarket Ferrari HVAC graphics overlays. First let’s take a look at the original. The graphics layer, in addition to being sticky, has warped and partially separated from the glue on the plastic panel:
–
Next, using a reasonably sharp knife, I cut around the edges where the graphics layer wraps around the corners. It’s the safest place to begin cutting, in case I cut too deep and damage the plastic panel. Most of the black layer then peels off by hand, leaving the glue and some of the translucent graphics stuck on the panel:
–
Then comes the hard part. The remaining gooey mess takes a long time to scrub off. A good soapy soak is needed, meaning the electronics back panel and all the control knobs need to be removed. I discovered a tool that I must admit I had never heard of before—snap ring pliers. It’s required to un-clip the metal rings holding the knobs in place. Curious fact: The text reads “Serigrafia Pertoldi / Udine.” I looked them up; Pertoldi is still in business making OEM instrument gauge and HVAC graphics for various car manufacturers. They are based in the northeastern province of Udine. Anyway, this thing is now ready to get wet.
–
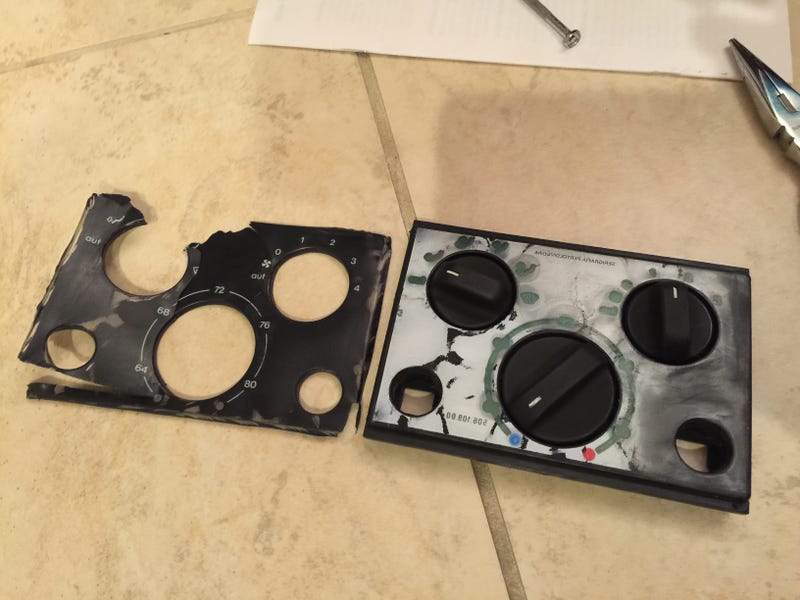
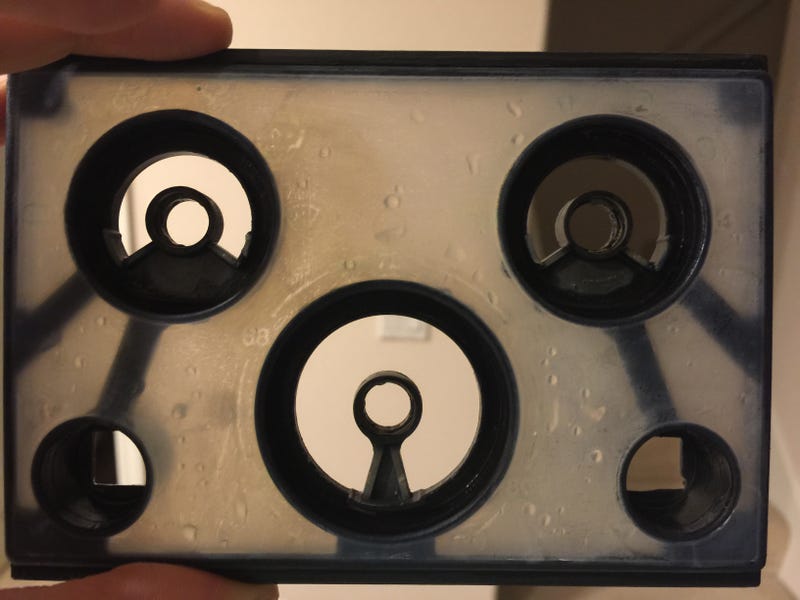
More than an hour of elbow grease was needed for this step; endless scrubbing and even light sanding to save time. The nasty old layer is finally gone, leaving the original translucent plastic panel that allows the HVAC lighting to shine through.
–
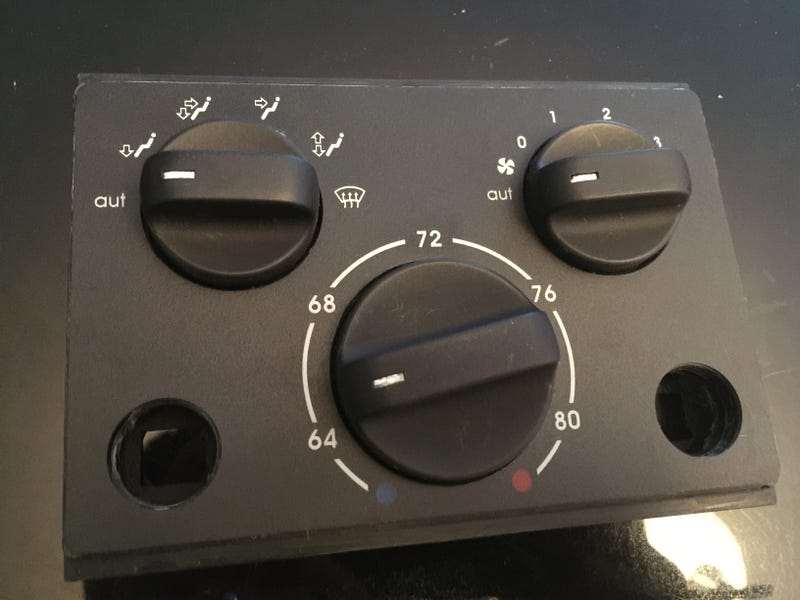
On goes the new sticker. Boom! I mean that in the non-explosive way, since words like “Boom,” “Fire,” “Explosive,” etc. are taboo in the Italian sports car circles.
–
It’s not downhill yet. I was getting ready to put everything back together when I noticed that I had broken something while pulling apart the control panel.

–
I had broken off a backlight that was mounted on long, thin pins and supported by a plastic stud. Much cursing was heard that night.
After calming down and caressing my poor, rapidly-emptying wallet, I brought the French-made circuit board to a local electronics repair shop (the kind that repairs TVs and computers). There, we made another awesome discovery: The damn thing was not an LED. It was a tiny filament light bulb, encased in a tiny green rubber boot to make it shine green. The bulb would cost US$3, plus $10 in postage. Not surprising, not at all.
The final obstacle is this large plastic switch/gear lever bezel outlined in the below photo. Upon removing this panel to re-finish it, the mechanic noticed that two of the switch brackets at the back had broken. A new bezel from Ferrari was available at a relatively friendly low-three-digit price.

–
Despite the fact that every plastic surface eventually melts, I decided to install the new piece as-is. I wanted to feel the nice soft finish, and it is surprisingly luxurious to the touch. I give it five years to meltdown day.
So, after more than two months of sitting, getting rained on, getting taken for a joyride, getting returned to the shop to continue work, threatening my daycare budget, etc. the interior is now finally finished to where I had wanted it.
On to the results!
______________________
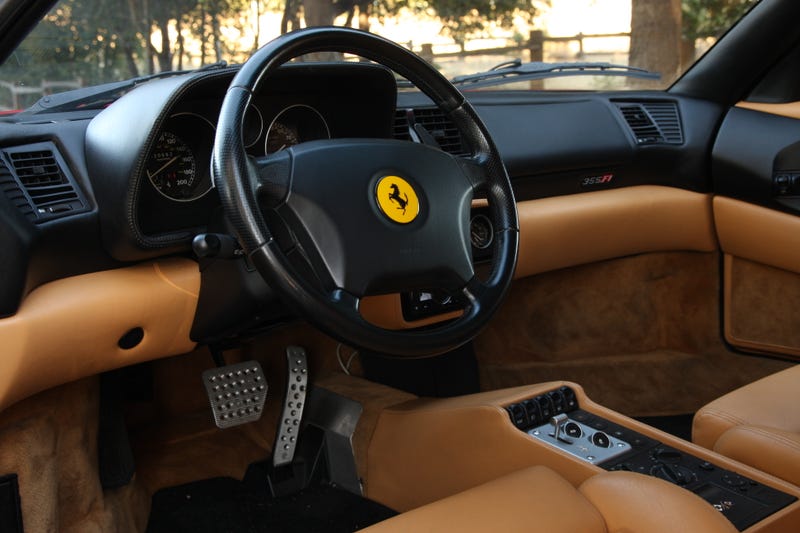
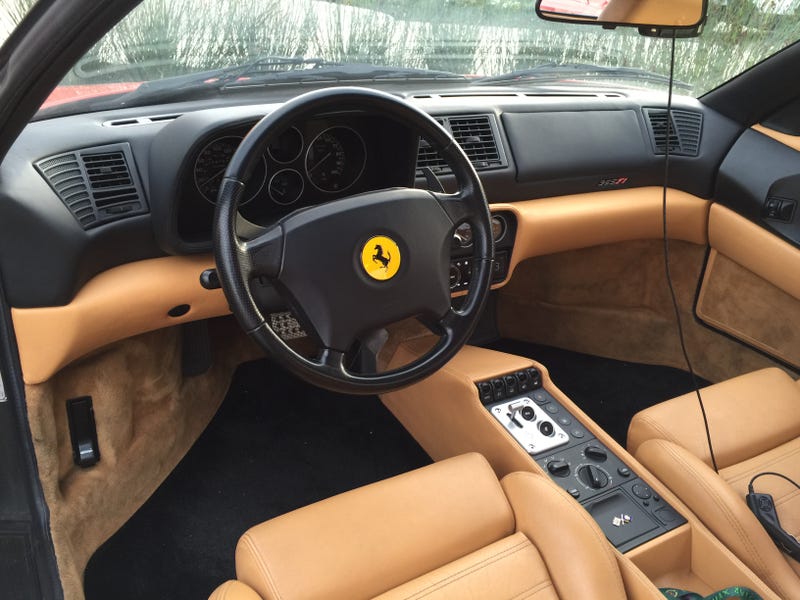
The upper dash does indeed look fresher in the overall interior scene.
–
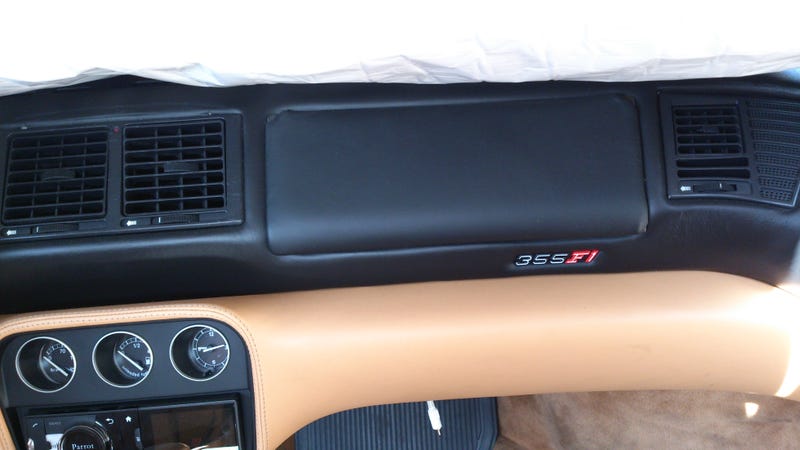
Close-up of the new leather surfaces:
–
The centre console is by far the most tangible improvement. I no longer need to avoid looking at it!
–
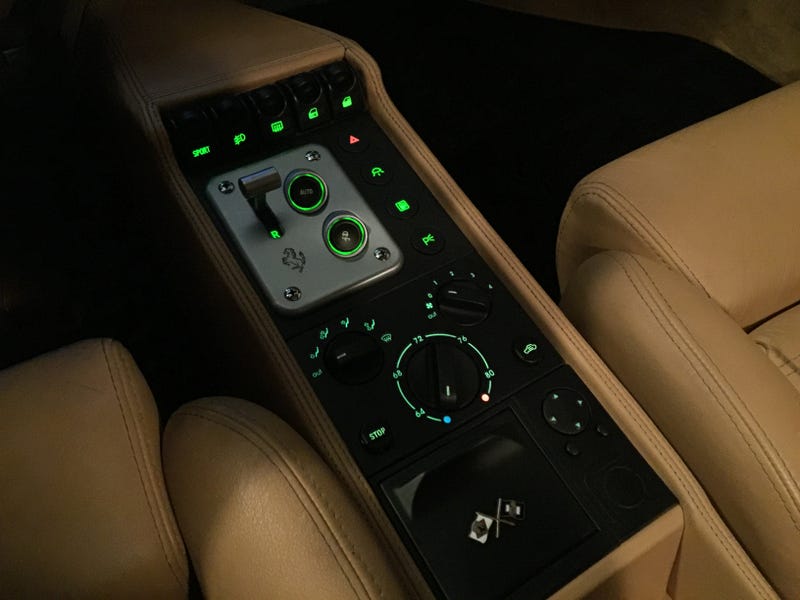
Night shot
–
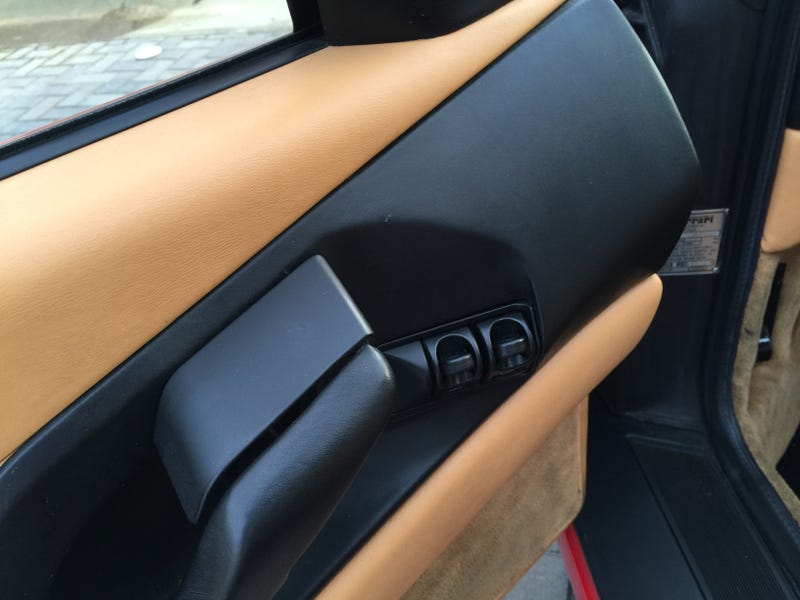
Door handles are now pleasant to use.
–
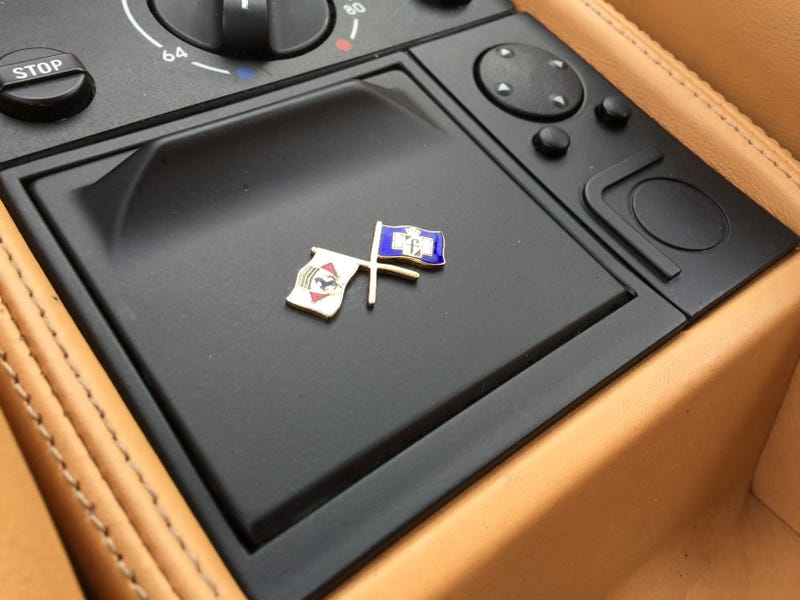
The ash tray cover’s flag emblems were bent, and the mechanic bent it back. It’s not perfectly straight, but at least it’s not crooked by 45 degrees anymore. And it’s pleasant to the touch. Curious fact: the blank area on the bottom right appears to be a missing button, and it is. The earliest F355s have a Teves ABS system with a kill switch; later cars have a more modern Bosch system that cannot be disabled.
–
I also gave the car some new wipers. The old ones had badly torn rubber blades and the metal frames were rusting terribly. The passenger side can use any generic $10 wiper, but this is not so for the driver’s side unit. To keep the original look, I had to splurge $42 for the original model from an OEM parts supplier (plus shipping! Don’t forget the shipping!!). Curious fact: those hoses snaking down each wiper are for the washer nozzles. I have no idea why Ferrari thought mounting the washer nozzles literally on the wiper would be a good idea.
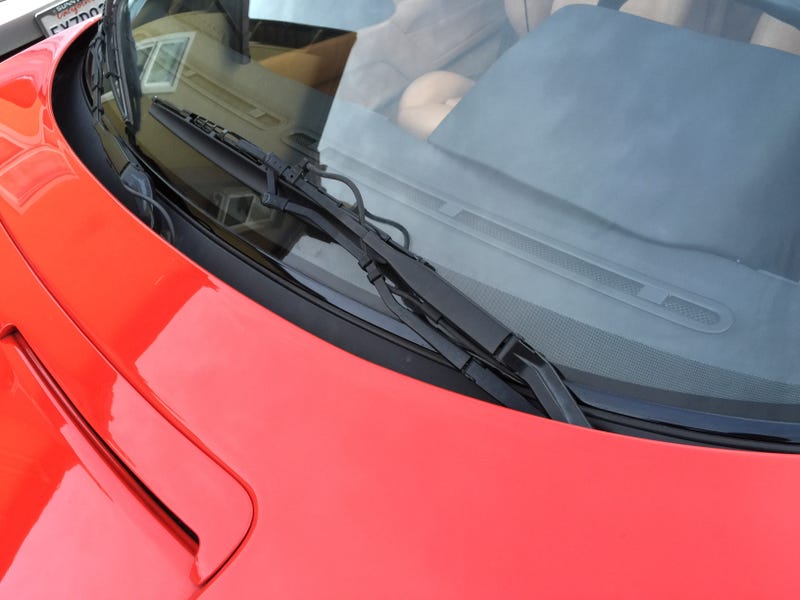
Next time I should just get the rubber blade inserts. Does anyone else absolutely adore dual-hinge wipers? They just look so industrial, and the fluid hoses add to that look.
______________________
So, now I have the interior—and the wipers—where I wanted it to be. I need to wait a little bit for my wallet to cool down.
Next will be the exterior, which needs paint correction. Thanks for reading!